How to Free Up Mac Storage by Compressing Photos & Videos
"Your disk is almost full."
You check your storage breakdown: Photos & Videos — 180GB. Everything else — 40GB. The math is clear. Your media library is the elephant in the room.
The usual advice: empty the trash, delete old apps, buy more iCloud. But what if you could keep every single photo and video exactly where it is — and just make them smaller?
How Much Space Can You Actually Save?
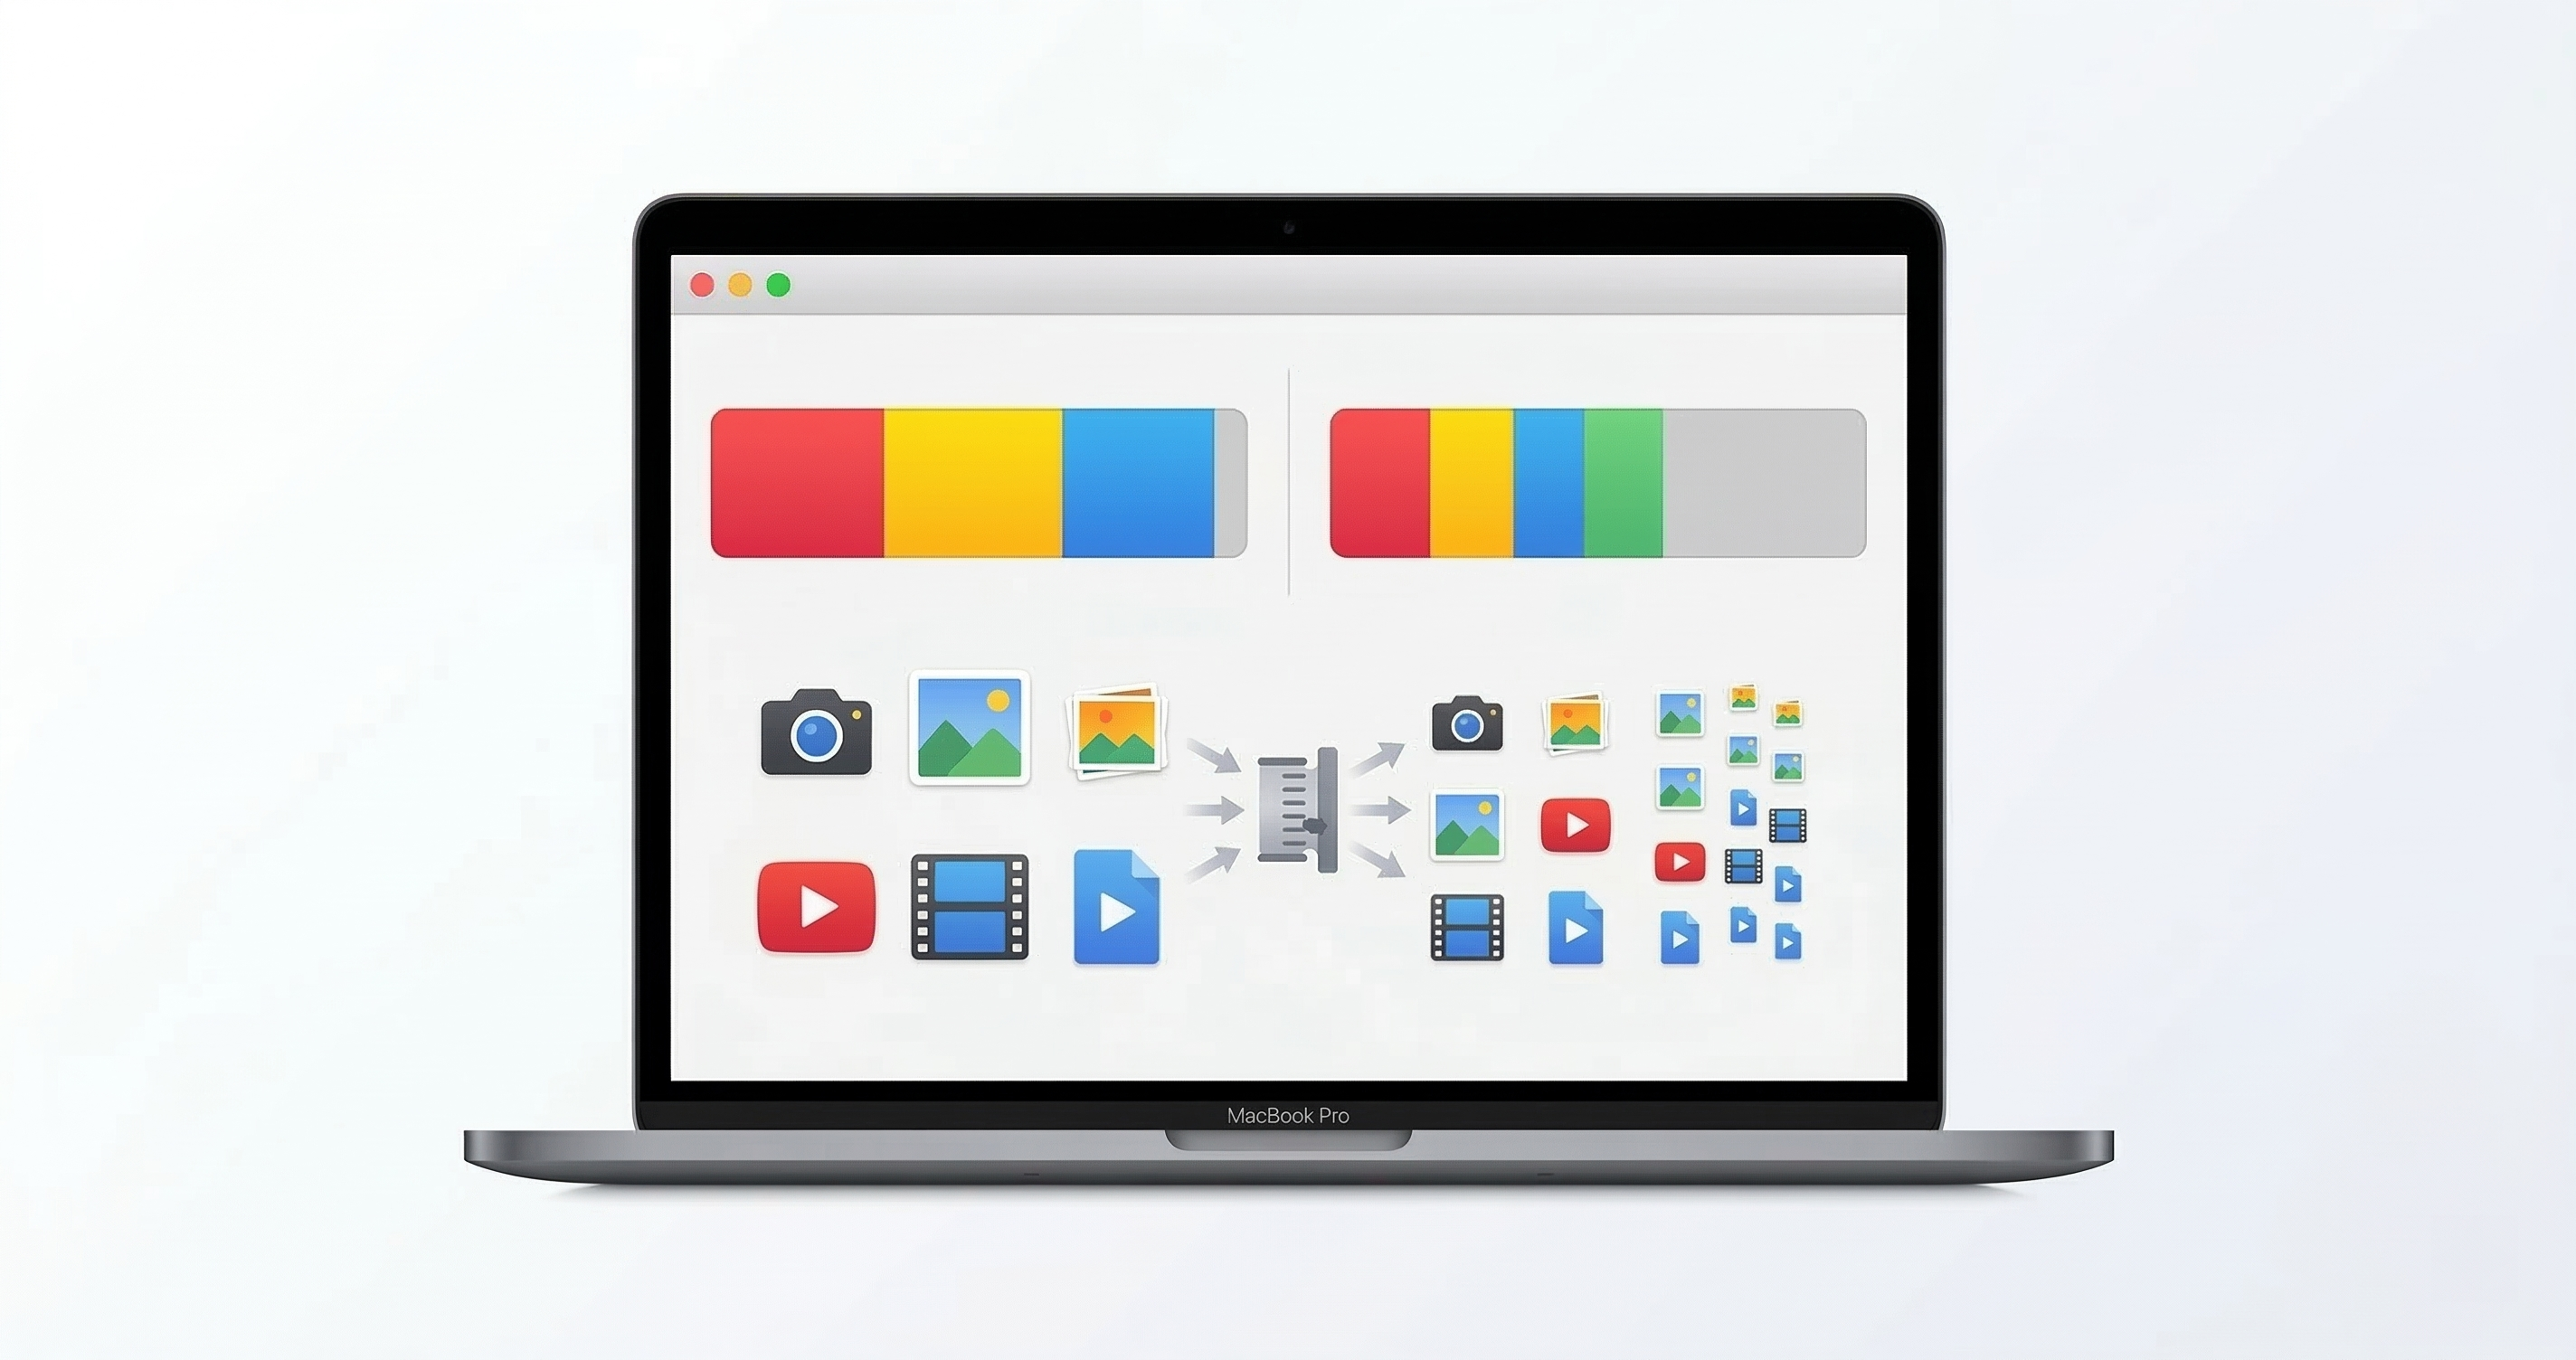
This isn't theoretical. We tested on a real photo library.
Real Storage Savings
Here's the rough breakdown by file type:
- Photos (JPG/HEIC): Typically compress 60-80% at 75% quality.
- Videos (MP4/MOV): Compress 50-75% depending on original bitrate.
- RAW files: Compress 85-90% when converted to JPG — though you'd only do this for files you're done editing.
Step 1: Find What's Taking Up Space
Before you start compressing, figure out where your storage actually goes:
- Open Apple menu → About This Mac → Storage (or System Settings → General → Storage on newer macOS).
- For more detail: open Finder, navigate to your main photo/video folders, select all, and hit Cmd+I to see the total size.
- Check your Photos Library: right-click the library file in your Pictures folder → Get Info. This is often the single largest file on your Mac.
Common findings: 60% of used storage is media. The rest is apps, system files, and caches. Compressing your media is the single highest-impact thing you can do.
Step 2: The Cautious Approach (Always)
Do not compress your only copy. Golden rule.
Either duplicate the folder first, or use a tool that outputs to a separate location. Once you've verified the compressed versions look good, swap them in and delete the originals.
ShrinkPad outputs compressed files alongside the originals (or to a custom output folder) — it never overwrites anything unless you explicitly tell it to.
Step 3: Batch Compress Everything with ShrinkPad
Here's the workflow for the big cleanup:
- Point ShrinkPad at your media folder: Drop your Pictures folder, your Videos folder, or your entire photo library export onto the app.
- Subfolder processing: ShrinkPad crawls into every subfolder automatically. Your
vacation-2024/,birthday-party/,screenshots/structure stays intact. - Mixed media support: Photos and videos are handled in the same pass. No need to separate them first.
- Adjust quality and compress: Set it to 75-80% for the best balance of savings and visual quality.
- Review, then swap: Check a few files, confirm they look good, then replace the originals.
Stop uploading your files to the cloud.
Compress images and videos locally on your Mac. Fast, private, and no internet required.
Smart Compression Settings for Archival
Not all media deserves the same treatment:
- Photos you'll only view on screen (Instagram shots, screenshots, memes): 70-75% quality. These were never going to be printed.
- Photos you might print someday (family portraits, travel highlights): 85-90% quality. Indistinguishable from the original at print size.
- Videos: 75-80% quality. Video compression is remarkably efficient — the human eye is much less sensitive to compression artifacts in motion.
- Truly irreplaceable originals (wedding, birth of a child): Keep these uncompressed on an external drive. Compress a copy for your Mac's daily use.
Keep Everything. Shrink Everything.
You don't have to choose between your memories and your disk space. A single afternoon of compression can buy you years of storage headroom.
If your storage problem is mostly video, check out How to Compress Video on Mac Without Losing Quality. For iPhone-specific MOV files, see How to Reduce MOV File Size on Mac.