How to Compress Photos for Email on Mac (The Fast Way)
You select 6 photos. Attach them to an email. Hit send. Gmail says: nope — 42MB exceeds the 25MB attachment limit.
The "helpful" suggestion: upload them to Google Drive and share a link instead. But sometimes you just want to attach the files directly. Maybe it's a client who doesn't click cloud links. Maybe it's your mom. Let's solve this properly.
Email Attachment Limits (The Numbers)
Every email provider has a hard cap:
- Gmail: 25MB total
- Outlook / Hotmail: 20MB
- Yahoo Mail: 25MB
- Apple Mail (iCloud): 20MB (Mail Drop kicks in above that, but not everyone uses it)
Now consider: an average iPhone 16 photo is 3-7MB in HEIC, or 5-10MB in JPG. So you can attach maybe 3-4 photos before hitting the wall. A single screenshot from a Retina display can be 5MB.
The math just doesn't work — unless you compress first.
The Quick macOS Trick: Preview
You can use the built-in Preview app:
- Open your photos in Preview (select multiple, right-click, Open With Preview).
- Select All (Cmd+A).
- Go to Tools → Adjust Size — reduce dimensions (e.g., 1920px wide).
- Then File → Export — set quality to 70-75%.
This works, but it's tedious. You're guessing at the final file size, and for more than a few photos, the clicking gets old fast.
The Mail.app Trick (Easy but Limited)
When you attach images in Apple Mail, look at the bottom-right of the compose window. You'll see a dropdown:
Image Size: Small / Medium / Large / Actual Size
Selecting "Small" or "Medium" auto-compresses. It's easy, but you get zero control over quality — and it only works in Apple Mail. If you use Gmail in a browser or Outlook, this option doesn't exist.
The Better Way: ShrinkPad for Email-Ready Photos
This is where having a dedicated tool saves real time.
Email Math
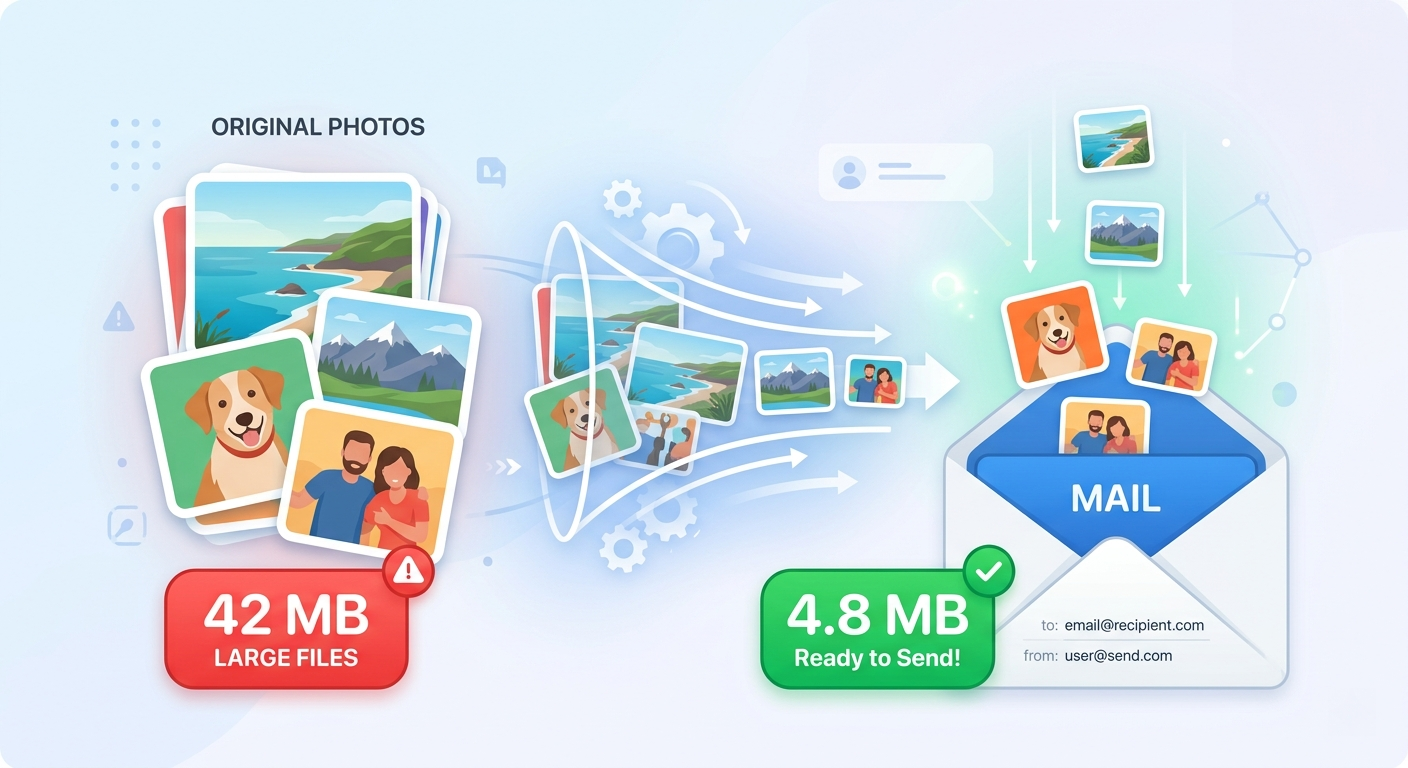
- ShrinkPad at 70% quality: 4.8MB total.
- That's a 91% reduction — and you cannot tell the difference on a screen.
Here's the workflow:
- Select your photos: Grab them from Finder, or drop the whole folder.
- Drop onto ShrinkPad: It processes JPG, PNG, HEIC — whatever you've got.
- Set quality to 70-75%: This is the sweet spot for email. You'll see the total output size estimate in real-time, so you know it'll fit within the attachment limit before you compress.
- Compress and attach: Done in seconds. Drag the compressed files into your email.
Stop uploading your files to the cloud.
Compress images and videos locally on your Mac. Fast, private, and no internet required.
What Quality Setting for Email?
Here's a practical guide based on how the photos will actually be viewed:
- 60-70% quality: Totally fine for email viewing. Recipients open it on their screen, maybe zoom in once. They won't notice.
- 75-80%: Safe bet if the recipient might crop or zoom in closely.
- If they need print quality: Honestly, use a file sharing service. Email isn't the right tool for 50MB print files.
Resize tip: If your photos are 4000x3000 pixels and they'll only be viewed on a screen, resizing to 2000px wide alone halves the file size — before any compression even kicks in.
Stop Fighting With Attachment Limits
A 10-second compression step saves you the bounced email, the "file too large" error, and the awkward follow-up with a Drive link nobody clicks.
Need to compress an entire photo library, not just a few for email? See How to Batch Compress Images on Mac.